Oh Snap! A Sweet Stampin' Up! Card Design with a FREE Tutorial!


Hello Reader,

Love this playful design?

I took inspiration from one of my favorite Stampin’ Up! catalog designs and resized the original card from 4 1/2" x 6 1/2" to the classic A2 size (4 1/4" x 5 1/2"). With a mix of cheerful colors, embossing, and a little heat-embossed “snap,” this sweet gingerbread card is the perfect blend of fun and festive. Follow along with my step-by-step tutorial to recreate it—or switch up the colors and sentiment to make it your own.

1. measure & cut:

card base:

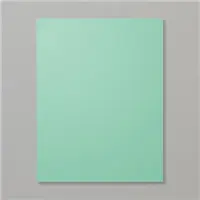
  • Granny Apple Green Cardstock - 5 1/2 x 8 1/2, scored at 4 1/4 (folded on the side)

layers (from bottom to top):

  • Granny Apple Green Two-Tone Cardstock - 4 x 5 1/4
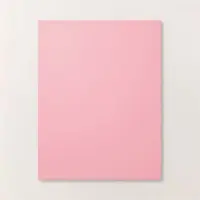
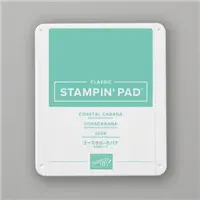
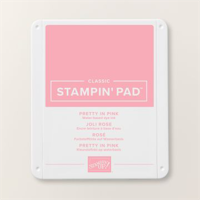
  • Granny Apple Green, Coastal Cabana and Pretty In Pink Cardstock: 3 3/4 x 1 1/2 strips
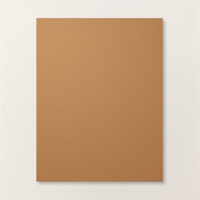
  • Pecan Pie Cardstock - 4 1/4 x 5 1/4 (before cropping)
  • Timid Tiger Cardstock: scraps
  • Basic White Cardstock: 2 1/2 x 2 1/2 (before cropping)

2. stamp:

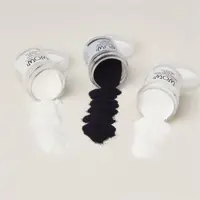
  • Use a Clear Block or Stamp Positioning Tool to stamp the Gingerbread Man outline and squiggly line (as shown) in Versamark Ink onto the Pecan Pie Cardstock. Cover with White Basics Wow! Embossing Powder, set with a Heat Tool.
  • Use a Clear Block to stamp the face and buttons in Versamark Ink onto the Gingerbread Man and the sentiment onto the Basic White Cardstock. Cover with Black Basics Wow! Embossing Powder, set with a Heat Tool.
  • Use a Clear Block to stamp the cheeks in Real Red Classic Ink.
  • Use a Clear Block to randomly stamp the three cardstock strips with the gumdrop stamp in coordinating ink colors (Granny Apple Green, Coastal Cabana and Pretty Ink Pink).
  • Use a Clear Block to stamp the crumbs in Pecan Pie Classic Ink onto the Pretty in Pink strip as shown.

3. crop & emboss:

  • Use a Stampin' Cut & Emboss Machine (Standard) to emboss the Granny Apple Green Two-Tone Cardstock with the Forever Plaid 3D Embossing Folder. Distress the raised areas with a sanding block.
  • Use a Stampin' Cut & Emboss Machine (Standard) to crop the Gingerbread Man, the snapped leg, the bowtie and the sentiment.

4. assemble & adhere:

  • Adhere the the embossed layer to the card base as shown with Multipurpose Liquid Glue.
  • Adhere all remaining pieces with Standard and Mini Stampin' Dimensionals.

The recipe books are compiled by Stampin' Up! product release! You can get the ENTIRE 2025 Holiday Mini Catalog, 2025-2026 Annual Catalog, PLUS July and September 2025 Online Exclusive product recipes and supply lists here:


EXPERIENCE MATTERS! Since becoming a Stampin’ Up! demonstrator in 2007, my priority has been to provide excellent customer care. My success as a top 20 U.S. demonstrator year after year relies on providing customer satisfaction, consistency and happiness!

ABOUT MARY! Learn more about my Stampin' Up! journey here.

THE TOP 5 REASONS MY CUSTOMERS SHOP WITH ME!

  1. GRATITUDE! I’m so grateful for your business! Place an on-line order with me as your Stampin’ Up! demonstrator and you’ll receive an immediate thank you email with confirmation of how many tulip rewards you earned.
  2. SERVICE! You’ll receive a follow-up email after your order delivers to be sure everything is perfect and answer any questions.
  3. INSPIRATION & IDEAS! Subscribe here to my daily email updates and receive card and organization ideas, free step-by-step tutorials, exclusive paper crafting resources, Stampin’ Up! new product drops and special offers.
  4. GET REWARDED! A customer favorite! Shop thru me as your Stampin’ Up! demonstrator and earn tulips toward FREE Stampin’ Up! bundles & stamp sets with my Tulip Rewards Loyalty Program.
  5. ABOUT MARY! Learn more about my Stampin' Up! journey here.

Update Your Email Profile or Preferences | Unsubscribe from ALL Emails

Stampin' Pretty, LLC 1501 Edgehill Dr, Madison, WI 53705-1448

Stampin' Pretty, LLC

GET 100+ CARD SKETCH IDEAS FREE! Simply sign up for my newsletter today & instantly receive a digital gift of 100+ Card Sketch Ideas that you can save or print! PLUS, you’ll receive my latest card ideas and tutorials, special offers, new product drops and exclusive “subscriber-only” resources.

Read more from Stampin' Pretty, LLC
collection of clean and simple congrats card ideas

30 Simple Congrats Card Ideas for Happy Occasions! Need a handmade card that says “congratulations” in style? Discover my favorite clean and simple card ideas using Stampin’ Up! products. From weddings to graduations, these timeless designs are easy to create — and perfect for using supplies you already have on hand. click for FREE tutorials & card ideas! FREE STAMPIN' PRETTY RESOURCES! Project ideas, tutorials, sketches, color combinations, wow videos, color charts and more! Explore ALL of...

Pals Blog Hop – A 5 Minute Thank You Card! Celebrate Acts of Kindness, Gratitude, and Thanksgiving with the Stampin’ Pretty Pals! From heartfelt cards to creative paper crafts, you’ll find plenty of inspiration using Stampin’ Up! products. Hop along the lineup at the bottom of the post — you won’t want to miss a single idea! click for FREE tutorials & card ideas! FREE STAMPIN' PRETTY RESOURCES! Project ideas, tutorials, sketches, color combinations, wow videos, color charts and more! Explore...

12 Clever Card Ideas from the Stampin’ Pretty Pals! Discover 12 clever card ideas from the Stampin’ Pretty Pals! These projects are packed with inspiration, creative tips, and beautiful designs using your favorite Stampin’ Up! products. Perfect for crafters of all skill levels, these ideas will help you create cards that truly shine. click for FREE tutorials & card ideas! FREE STAMPIN' PRETTY RESOURCES! Project ideas, tutorials, sketches, color combinations, wow videos, color charts and more!...